
Building a giant 8 foot by 5.25 foot robot arena! (Part 1)
So this weekend Josh, Bobby, Michael, Tony, and I had one “simple” goal. That goal was to make a ridiculously epic, and moderately portable Robotic Arena for the Arduino Compatible Versalino Rove (or whatever robotics system we can fit on it).
What we discovered $120, 8 hours, a case of beer and Mountain Dew later was that task, though arguably simple, still required a fair amount of effort (like anything worth doing). Additionally we discovered that the table I had planned, and picked up the materials for was just a little more epic in reality than it had been in my mind.
Materials Required:
- 8 x 2 by 4’s (for the inner supports)
- 6 x 2 by 6’s (outer border, and middle legs)
- 2 x 4 by 4’s (for the outer legs)
- 8 x 9 inch bolts, washers, and wing-nuts
- 6 x 5 1/2 to 6 1/2 inch bolts, washers, and wing-nuts
- 4 x barebone whiteboards (we got ours from Lowes, but you could use just about any flat thing that screws can go through).
- Buncha Nails
- Buncha Screws
Tools Required:
- Wood Saw (preferably one that can do 45 cuts)
- measuring tape (and a right angle if you have one)
- Wood Marking device (I do not recommend a whiteboard marker like we used)
- Hammer (seriously, you are gonna need it)
- Nail gun, or just a lot more time with a hammer.
- Electric Drill with drill bits, and driving bits.
Making the magic happen:
Now that you have everything it is time to get started. Because the arena will be ridiculously large you will want to split it into at least two somewhat manageable pieces. The way we did this was to split the table down the middle so that two whiteboards would be mounted on top of each side.
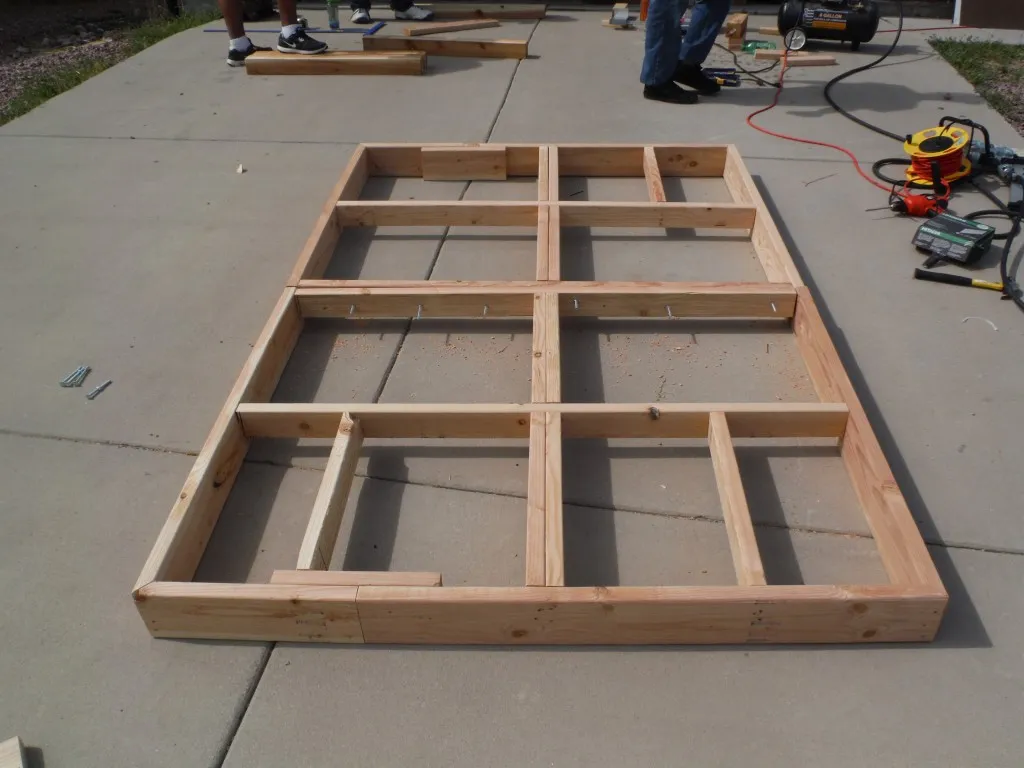
If you look at the framing (mostly complete in the picture below) you can see that the 2 by 6 boards were used only on the boarder of the table; this was primarily done to allow a sturdier connection of the legs to the table down the line, and secondarily to make it look sexier.
The two tables are bolted together using our 6 x 5 1/2 inch bolts. Later in the process we moved the outer most bolts inward to put our un-anticipated 5th and 6th legs in the middle. Because of the size and weight of the assembly we felt it was necessary to eliminate danger to anyone who might be under it, and two eliminate any bowing between the two assemblies.
Later on we added 2 by 4 supports to the spots that are missing them in the photo above (we were two 2 by 4’s short at first). The measurements for your sides will depend on the table top surface you select, but the overall dimensions of our table ended up being 8 feet long by 5 1/4 feet wide by 3 feet tall.
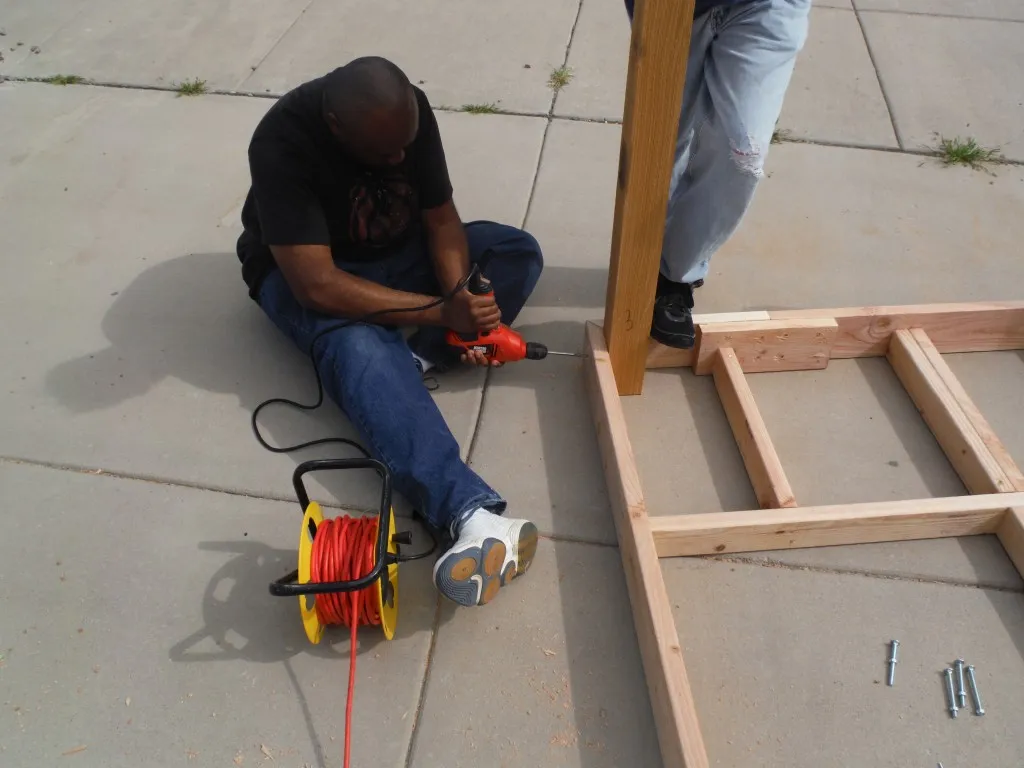
The next step was to put the legs on the table, we did this by drilling on the upper half on one side, and the lower on the other. This allows for the 9 inch bolts to properly secure the legs when the wing-nuts are tightened. Don’t forget the washers or you will be sorry, particularly if you went cheap and got regular nuts because they will happily embed themselves into the wood, and are very difficult to tighten properly.
At about this point we realized that the table would not work with just 4 legs, and we had to come up with a simple solution that didn’t require too much change to the design. The reasoning as stated earlier was the extreme bowing in the middle of the table, and the solution was to put legs on the bolts that were already securing the two table pieces together. This was accomplished by cutting 2 legs from a 2 by 6 that match the rest of the table legs height, and drilling corresponding holes where they can fit on the middle joint section. It is worth noting that the legs should go on the outside of either board (not in-between the two tables).
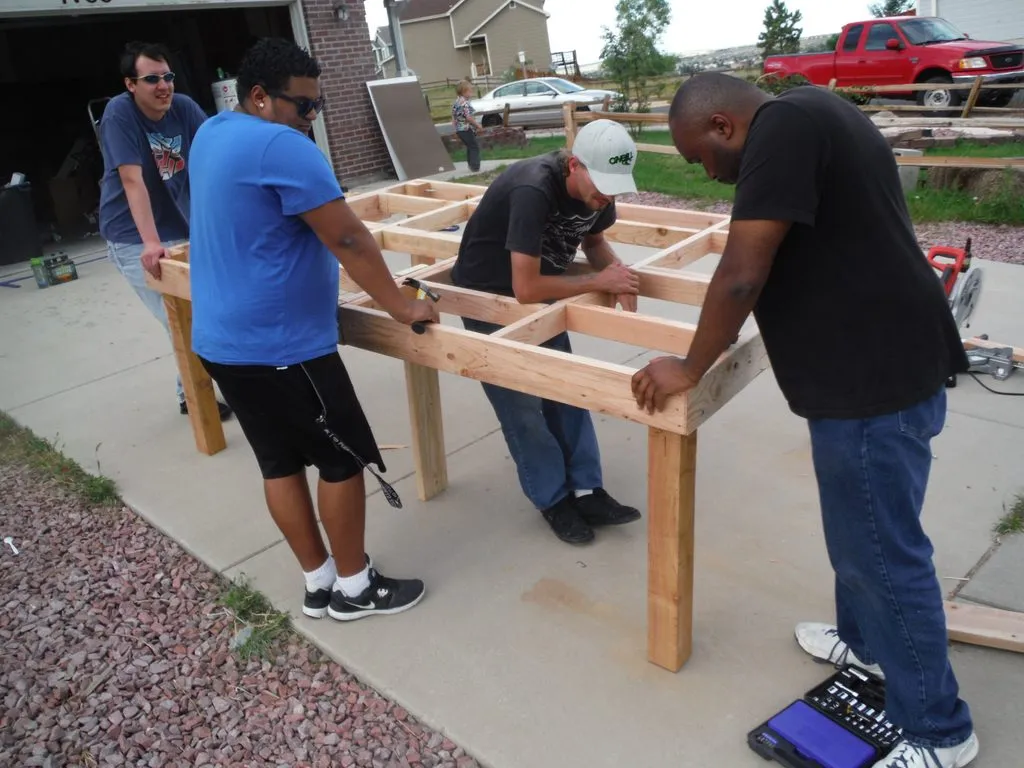
Note: A framing nailer would probably have worked much better for the table-top, but I don’t have one, so I can’t be sure ;).
Now that everything is finally stable, all you have to do is carefully line up the whiteboards on the top and drill them into place. Take extra care to keep the boards flush while not extending over the border between the two table pieces since they will be stored and transported separately. We found so far that drilling was only required along the borders of the boards, but you may want to secure it better in the mid sections.
[image lost to the archive]
Once you have finished that much you have the basics of the arena complete. I can’t wait to put the next updates on it, and share them with you all. This table is going to be used with the Versalino Rove at the What If festival in downtown Colorado Springs in a week and some change, so let me know if you have any suggestions as soon as you think of them.
Restored from the josephdattilo.com archive — original publish date preserved. Lightly cleaned up for the modern site; the words are period-correct.
I'm Joseph Dattilo — engineer-founder in Lansing, Michigan, author of the FleetHarbor suite, and founder of Date Palm Media. More about me · More writing · Get in touch